On weekdays you just need to get some grub and go. Stuff has to happen. You need to get things done. On the weekend you have more time to do the things you want and those you don’t have time for during the week. The perfect way to kick it off is to make and eat the perfect breakfast; part of that is a great roll. This is my recipe for crusty sourdough rolls.
If you like a crunchy and crispy crust, rolls are the way to go because there’s just that much more surface area than on a single slice of bread. The secret to getting a crispy crust is all in the baking time. You start at a high temperature with steam to get a good oven spring, then turn down the oven to get the crispy crust, but not burn the crust.
If you are just here for the recipe, you can press the button underneath to be automagically transported to the recipe:
Jump to Recipe Jump to Video
The dough composition in this crusty sourdough rolls recipe
The vitals
| Total weight | 1000 grams |
| Pre-fermented flour | 9.1% |
| Hydration | 70% |
| Yield | 10 small rolls |
The dough
The dough for these rolls is made with 80% bread flour and 20% rye flour. If you prefer another whole-grain flour, you can use whatever tickles your fancy. If you’d like a classic white roll, you can just use 100% bread flour.
The hydration is 70%, which can be high for some bread flour. If you don’t know how absorbent your bread flour is, I recommend starting at 60% and working your way up. Details are in the recipe.
| Weight | Ingredient | Baker's Percentage |
|---|---|---|
| 423g | bread flour | 80% |
| 106g | rye flour | 20% |
| 355g | water | 67.1% |
| 106g | starter (100% hydration) | 20% |
| 10g | salt | 1.9% |
The salt content is 2%, but these rolls shine extra brightly with 3%. I’ll leave it up to your conscience.
If you want to change quantity, hydration, inoculation, or other things, you can do so here in my Bread Calculator.
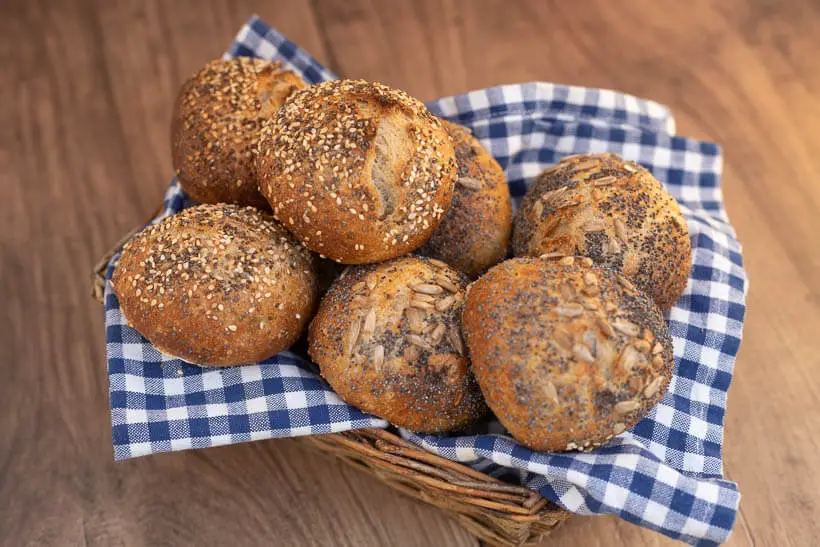
The conclusion of this crusty sourdough rolls recipe
So in my humble opinion, what is important for the perfect crusty roll?
- Crispy crust
- Soft crumb
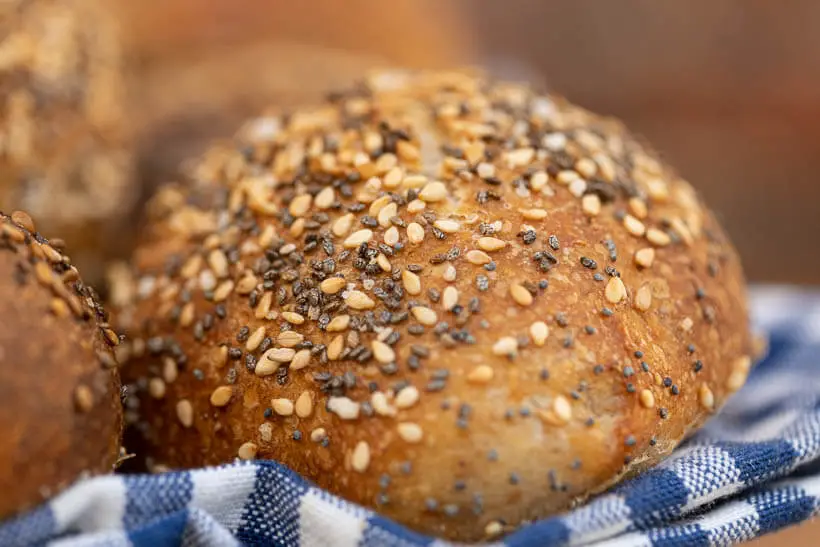
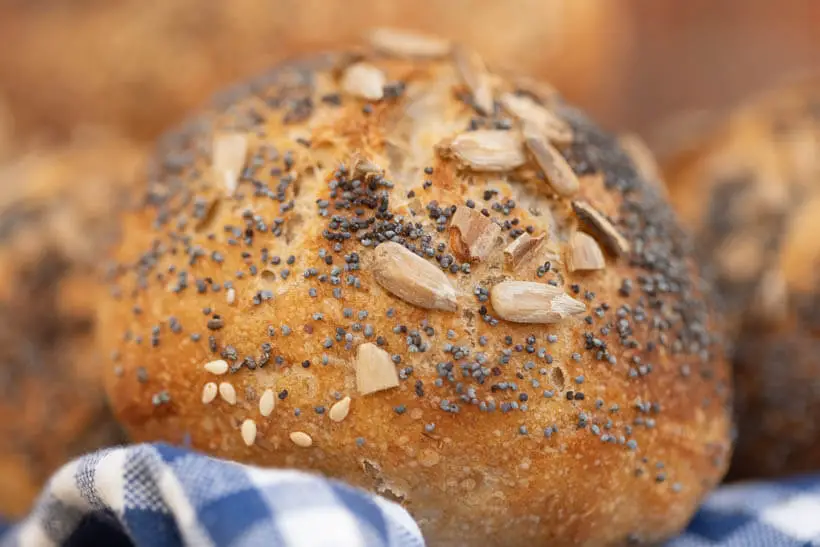
- Some delicious seeds
- A good taste
So how do these rolls stack up? I guess that is probably a loaded question because I designed this recipe to give you all of those things.
The crust is shatteringly crispy. The crumb is as soft as a baby’s bottom. I provided you with my two favorite seed toppings, but you do, use the ones you like. The poppy seed and sunflower seed topping is the same I use in my seeded sourdough.
Adding the rye flour gives it the perfect taste in combination with a good wheat-based bread flour. If you want even more flavor, do an overnight retard after the fermentation, but they are still great with just a warm fermentation.
In the words of Duke Nukem: “What are you waiting for? Christmas?”
Please share this recipe for crusty sourdough rolls on social media
This is my recipe for crusty sourdough rolls. If you like the recipe, please consider sharing it with like-minded roll lovers on social media.
If you make it and post it on Instagram, please tag me as @foodgeek.dk so I can see it. That would make me very happy.
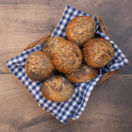
Crusty Sourdough Rolls
Ingredients
Dough
- 423 g bread flour
- 106 g dark rye flour
- 355 g water
- 106 g sourdough starter fed and grown to its peak
- 10 g salt
Skagen topping
- sunflower seeds
- poppy seeds
Salt and pepper topping
- sesame seeds
- chia seeds
- salt
- pepper
Instructions
Mix dough
- To a bowl add: 423g bread flour, 106g rye flour and 10g salt. Mix it all together.
- Then add: 106g sourdough starter and 355 grams of water
- If you are not sure about the absorption of your bread flour, start with 296g water. This will be 60% hydration. If it feels dry, add 30 more grams of water, then you are at 65% hydration. You can add up to 30 grams more if you feel like it could take it.
- Mix it until all of the flour is hydrated.
Ferment the dough
- Then put it into a bulking container.
- Level the top of the dough, and mark the top using a whiteboard marker.
- Let the dough ferment until it’s grown by 25%.
- Once it's grown, you can refrigerate the dough for up to 48 hours until you need it.
Divide and shape the dough
- Then divide the dough into ten equally sized pieces. Shape each piece into a ball. No pre-shaping is needed.
- You do it by putting your bench scraper behind the dough and pulling it forward to pull the dough in front of the dough, thus creating tension on the outside of the dough.
- Once you can't get any further, put the scraper in front and move the dough back on the table. Repeat until you have a taut surface.
- Put them on a piece of parchment paper on a baking sheet.
- Once they are shaped, prepare some plastic wrap so it’s big enough to cover all the rolls. Spray it with baking spray so it won’t stick to the buns and cover the rolls.
Final proof
- Then let them rise for an hour.
- While the rolls are final proofing, heat your oven to 260°C/500°F with a baking steel and a pan for steaming at the bottom.
Prepare the rolls for baking
- When the hour is up, grab the rolls and remove the plastic wrap.
- Boil a kettle of water to be ready for when you bake.
- Then mist the top of the rolls with a water sprayer to moisten the top.
- Mix equal amounts of sesame seeds and chia seeds. Season with some salt and pepper. Nothing crazy, but enough to taste it.
- The other topping shouldn't be mixed because you need to put the sunflower seeds on first so that they'll stick to the rolls.
- Seed all the rolls, or leave them unseeded if that's your preference.
Bake the rolls
- Put the baking sheet into the oven, pour boiling water into the pan and close the oven.
- Bake for 10 minutes.
- Then remove the steaming pan, turn the heat down to 230°C/450°F and bake for another 15 minutes or until the rolls are super crispy.
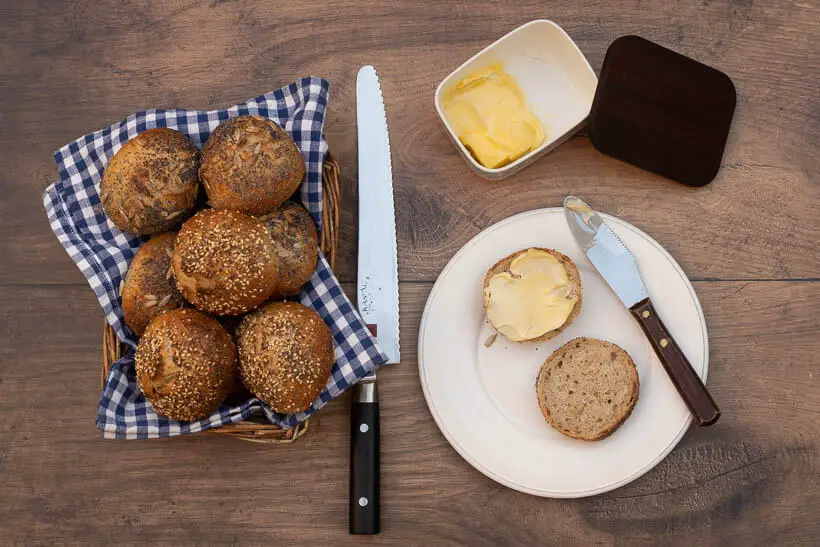
- Then take the rolls out of the oven and let them cool on a wire rack or you could just put them in a basket and serve them right away.




Hi Sune, would you use your Challenger Bread Pan in 2 batches here instead of a boiling water tray or do you think the rolls wont give off enough steam?
If your oven isn’t sealed well enough to steam using a pan, I think baking inside the Challenger is a very good idea 🙂
This really doesn’t work – need to stretch and fold the dough to build up gluten.
It works just fine. You can look at the resulting rolls 🙂
What a great recipe, Sune! I made it once and it came out perfectly. I currently am making another batch, my dough doubled because I forgot about it. It’s currently in the fridge as I don’t plan on baking until another 24hrs. Will my end result be compromised because of the dough doubling 😩?
Since it’s for rolls and oven spring isn’t need as much in a bread, I think it should be fine. Let me know 🙂
Hi there I’m almost putting them in the oven just have a quick question- do I spray the rolls with the hot water even if I’m not seeding them? I’d like to keep them plain ..
You do not need to spray, if not using seeds on top 🙂
The water should be room temperature though 🙂
Hi Sune, looks like an amazing and simple (YES!) sourdough recipe – excited to try it.
As you are Danish and I am living in Denmark, what local bread flour are you using, or do you always order it online?
I am sometimes struggling to find the right flours, the indicator I am using is mostly the share of protein. Do you have any tips?
The best bread flour that I’ve tried is from Kornby Mølle. I will mainly use Caputo Manitoba Oro, which is an Italian flour. Still, it’s the one that resembles American bread flour the most, and the vast majority of my readers and viewers are from the States.
Hi. Do you use Caputo Manitoba Oro for just these rolls or is it good for sourdough loafs as well? Thanks.
I use it for sourdough bread too. It’s really great flour 🙂
Good day Sune, cannot thank you enough for your wonderful recipes, your 100% rye bread is terrific and now these crusty rolls are absolutely wonderful. Many thanks.
Thank you <3
I apologize if this is a stupid question, but do you put the baking steel on the shelf that you are baking the rolls on, or on the bottom of the oven? Common sense tells me on the shelf for baking, but as my kids tell me, I don’t have a lot of it!
In the middle of the oven and bake directly on the steel 🙂
Can these be made in advance and frozen?
Yes, put the sheet in the freezer. When they’re frozen through, put them in a ziplock bag. When you want to back, let them thaw in the fridge and bake them like in the recipe. You can absolutely bake straight from the freezer, but you have to free-style the time in the oven.
Hi Sune, I followed you recipe as best as I could using 20% dark rye flour. Quantities to the g except water at 345 g which gave a nice looking dough. Kitchen was at 18C so not much rising in 4 hours. I moved bulking container to cupboard above fridge (20.8C) and rose to just over 25% in a further 3.5 hours. Wanted a slightly bigger roll so split into 8 rather than 10 and gave initial bake of 12 minutes rather than 10. A further 15 minutes at 230C had the rolls looking very much like yours and were crispy. The problem was that the inside was still a little heavy for us – almost as though they were a few days old even though they tasted great. Any suggestions on how to get nice soft rolls as well as the perfect crust?
Hello, I’m looking to try this and need to figure out timing. I’m sure it would vary, but about how long should I expect for the “grow by 25%” step? Thank you.
It’s hard to say, it depends on so many things, but probably in the range of 3-6 hours.
These look like the winning crusty roll recipe! I have the challenge of needing to serve these 4-5 hours after baking due to cooking many items in one oven on the same day (Thanksgiving in the USA). Can you freeze the baked rolls or are they OK to warm several hours after the bake. Any suggestions? Thank you!
I’d underbake them a bit, 10 minutes covered, 10 minutes uncovered, cool them, freeze them. Then when you need them thaw them in the fridge. Then put them in the oven at 230C/450F for about 5-10 minutes until crustry.
I recommend reading my article on par-baking, which is a general technique: https://foodgeek.dk/en/parbaking-bread-easy-and-freshly-baked-from-the-freezer/
What oven setting should be used for baking buns/rolls top&bottom or top with fan on? Maybe something else that I’m missing for that oven spring – might have not let the dough ferment enough before dividing. Starter is happy since I bake bread with it without problems.
Can I ask please, how do I get a better shape and what is your oven setting fro 260/230 degrees Celsius, fan forced or bake? Thank you in advance! (email contact on website is not working)