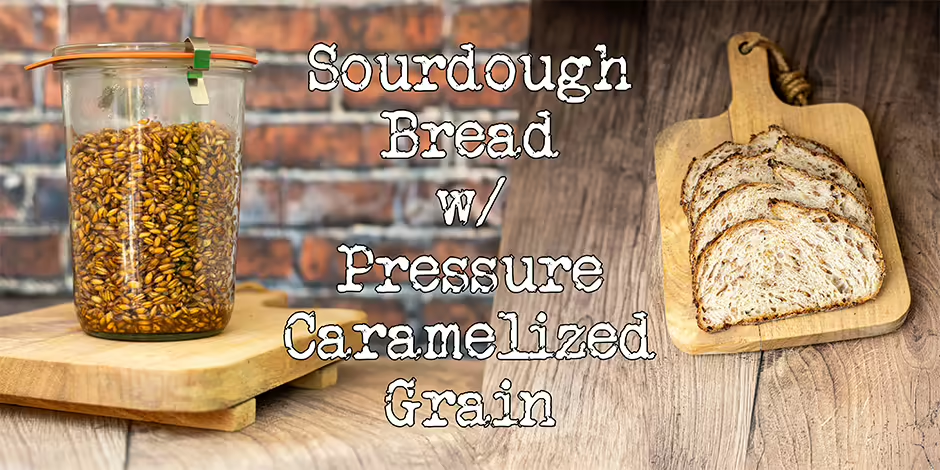
Pressure caramelized grain, a modern twist on an ancient process, uses high pressure and temperature to unlock rich, sweet, and nutty notes in the grains, creating an unparalleled taste experience. Whether you are a seasoned baker or a curious foodie, this unique ingredient will elevate your sourdough to new heights. This is my recipe for sourdough bread with pressure caramelized grain.
For my birthday this year, my partner surprised me with an awesome gift: “Modernist Bread at Home.” I have to say that it was the near-perfect gift for me, and I absolutely loved it. I came across pressure-caramelized grains in this book, and this article is my venture into making this part of my sourdough journey.
Why add pressure caramelized grain to your sourdough bread?
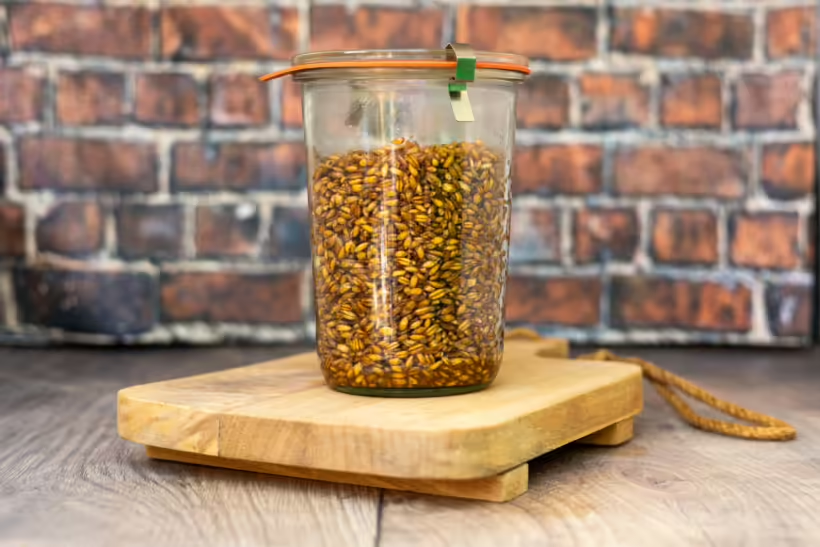
Pressure caramelization stands out as a revolutionary culinary technique due to its ability to rapidly and efficiently transform the natural sugars in grains into complex flavor compounds. Unlike traditional caramelization, which can be time-consuming and require constant attention, pressure caramelization leverages high pressure and temperature to achieve the desired browning and flavor development much faster. This method saves time and ensures a more consistent and thorough caramelization process. The result is a deeper, richer flavor profile that can enhance a wide range of dishes, from baked goods to savory entrees.
What are the benefits?
One of the key benefits of pressure caramelization is the intensity and complexity of the flavors it produces. The high-pressure environment accelerates the Maillard reaction, a chemical reaction between amino acids and reducing sugars responsible for the browning and developing new flavors. This process yields a unique blend of sweet, nutty, and slightly toasted notes that are difficult to achieve through traditional methods.
Additionally, pressure caramelization’s uniformity ensures that every grain is evenly browned, providing a consistent taste and texture throughout the dish. This makes it an excellent technique for enhancing the flavor of ingredients like grains, nuts, and even vegetables.
That’s all well and good, but How does it help my bread?
Incorporating pressure caramelized grains into recipes, such as sourdough bread, can significantly elevate the final product. The caramelized grains add a distinct sweetness and depth that complement sourdough’s tangy, robust flavors. Moreover, the process imparts a beautiful golden-brown color and a delightful crunch, enhancing the bread’s visual appeal and mouthfeel.
For bakers and chefs looking to push the boundaries of traditional recipes, pressure caramelization offers a novel and effective way to introduce new and exciting flavors. This innovative technique enhances the taste and adds a layer of sophistication and creativity to your culinary creations.
The dough in this pressure caramelized grain sourdough bread recipe
Vitals
| Total weight | 1821 grams |
| Pre-fermented flour | 9.1% |
| Hydration | 80.0% |
| Yield | 2 delicious loaves |
The dough
The base dough of this bread is a perfectly normal sourdough bread with a hydration of 80%. I recommend lowering the hydration to 70% if your flour isn’t very absorbent.
| Weight | Ingredient | Baker's Percentage |
|---|---|---|
| 560g | bread flour | 80% |
| 140g | rye flour | 20% |
| 546g | water | 78% |
| 140g | starter (100% hydration) | 20% |
| 14g | salt | 2% |
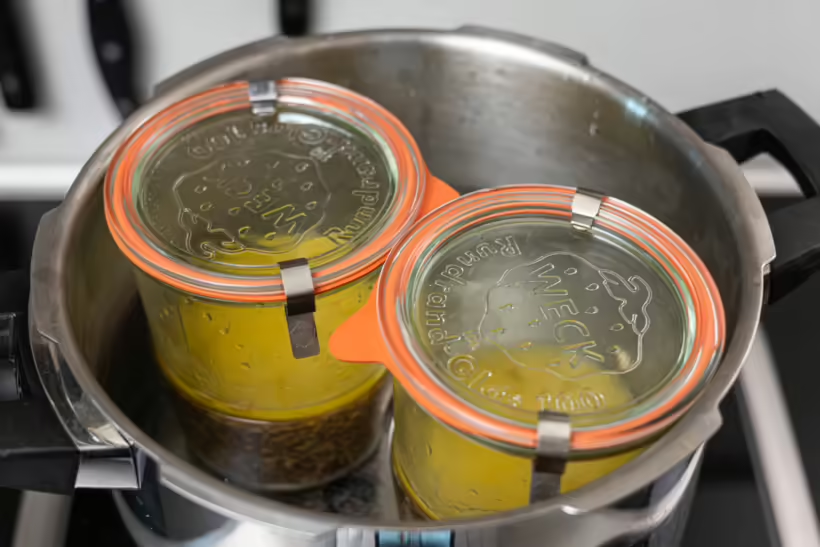
You cook the grains in a jar inside a pressure cooker and using baking soda, which will further help the caramelization.
| Weight | Ingredient | Baker's Percentage |
|---|---|---|
| 280g | al dented cooked whole grains | 40% |
| 60g | sugar | 8.6% |
| 85g | butter, melted | 12.1% |
| 140g | water | 20% |
| 1.4g | baking soda | 0.2% |
You can play around with the formula in my Bread Calculator by changing hydration, quantity, inoculation, or something else.
What is the conclusion of this sourdough bread with pressure caramelized grain recipe?
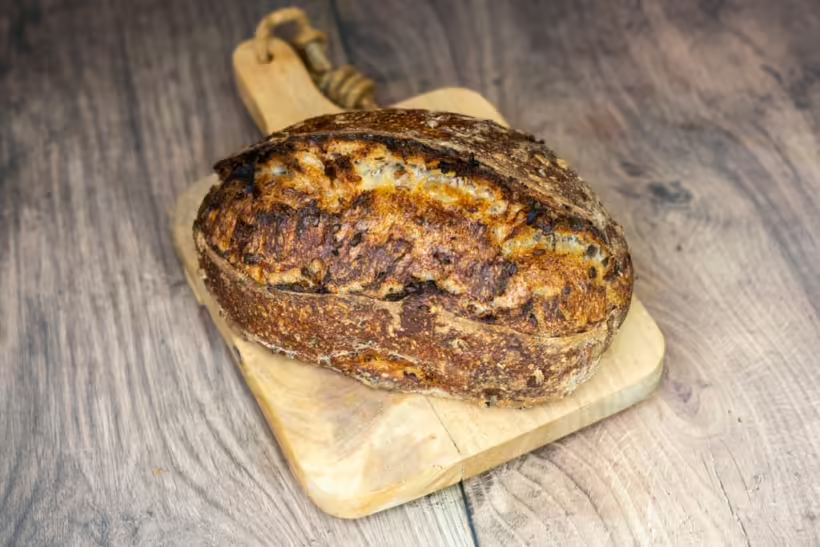
In conclusion, adding pressure-caramelized grains to sourdough bread produces an extraordinarily rich and nuanced flavor profile. The intense, sweet, and nutty notes from the caramelized grains perfectly complement the tangy undertones of the sourdough, creating a harmonious balance that delights the palate. Each bite offers a symphony of flavors that is both complex and satisfying, making this bread a standout addition to any meal.
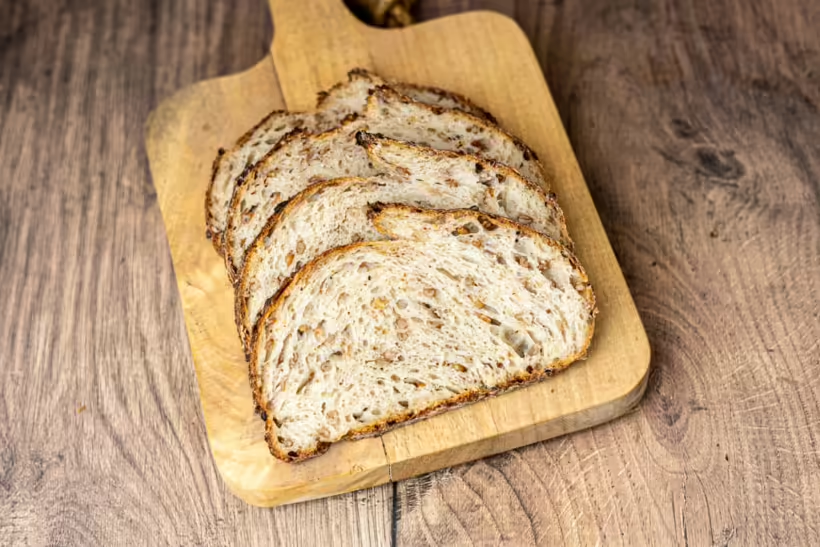
Beyond the remarkable taste, this recipe also delivers an incredibly soft and tender crumb that differentiates it from other sourdough breads. The pressure caramelization process enhances the flavor and impacts the texture, producing exceptionally moist bread. The caramelized grains contribute to a delicate crumb structure, ensuring that each slice is light and fluffy yet substantial enough to hold up to spreads and toppings.
By incorporating this unique method, you can achieve a delicious and visually stunning bread with a perfect balance of flavors and an irresistibly soft crumb. Whether enjoyed on its own, with a pat of butter, or as the base for a gourmet sandwich, this sourdough bread will impress and become a favorite in your baking repertoire.
Please share this pressure caramelized grain sourdough bread recipe on social media
This is my recipe for pressure-caramelized grain sourdough bread. Please consider sharing it with like-minded bread lovers on social media if you like it.
If you make it and post it on Instagram, please tag me as @foodgeek.dk so I can see it. That would make me very happy.

Sourdough Bread w/ Pressure Caramelized Grains
Equipment
Ingredients
Cooked Grain
- 280 g whole grain, washed whatever kind you love, I used emmer
- 280 g water
- 1.6 g salt
Pressure Caramelized Grains
- cooked grain
- 84 g butter, melted
- 56 g sugar
- 1.4 g baking soda
- 140 g water
Dough
- 560 g bread flour
- 140 g rye flour, whole grain any whole grain flour
- 14 g salt
- pressure caramelized grain
- 140 g starter fed and grown to its peak
- 546 g water
Instructions
Wash the grain
- Place a medium bowl in the sink and wash 280 grams of whole grain. Drain and add fresh water until it runs clear.
Cook the grain
- Place water, the washed grain, and salt in the pot of your pressure cooker
- Bring it to a boil. Place the lid on top and lock it in place.
- Wait for the valve to lift, showing 15 psi of pressure.
- Turn the heat down, but ensure enough pressure to keep the valve up.
- I cook emmer for 30 minutes. For regular grains, it is 25 minutes for wheat and 40 minutes for rye and Khorasan. Modernist Bread at Home has a table with all the most common grains.
- If you use an Instapot, set it to custom mode and select 12 psi.
- If you want to cook in a regular pot, simmer the grains with the lid on. Test the grains every 10 minutes until they are soft but still with a bite. Add water if needed.
- Once the grains are to your liking, take them off the heat and let them cool down.
Pressure cooking the grains
- Add melted butter, sugar, baking soda, and water to the grains. Mix them up.
- Add the grain mix to a mason jar and seal it. Add enough water to fill the pressure pot about halfway up the side of your jar.
- Turn up the heat and wait for the water to simmer. Add the lid to the pot and close it.
- Wait for the valve to lift, lower the heat, but maintain the pressure. Cook for 30 minutes. The same procedure applies to the Instapot. If cooking in a regular pot, cook on medium until the grain is deeply caramelized, about 45 to 60 minutes.
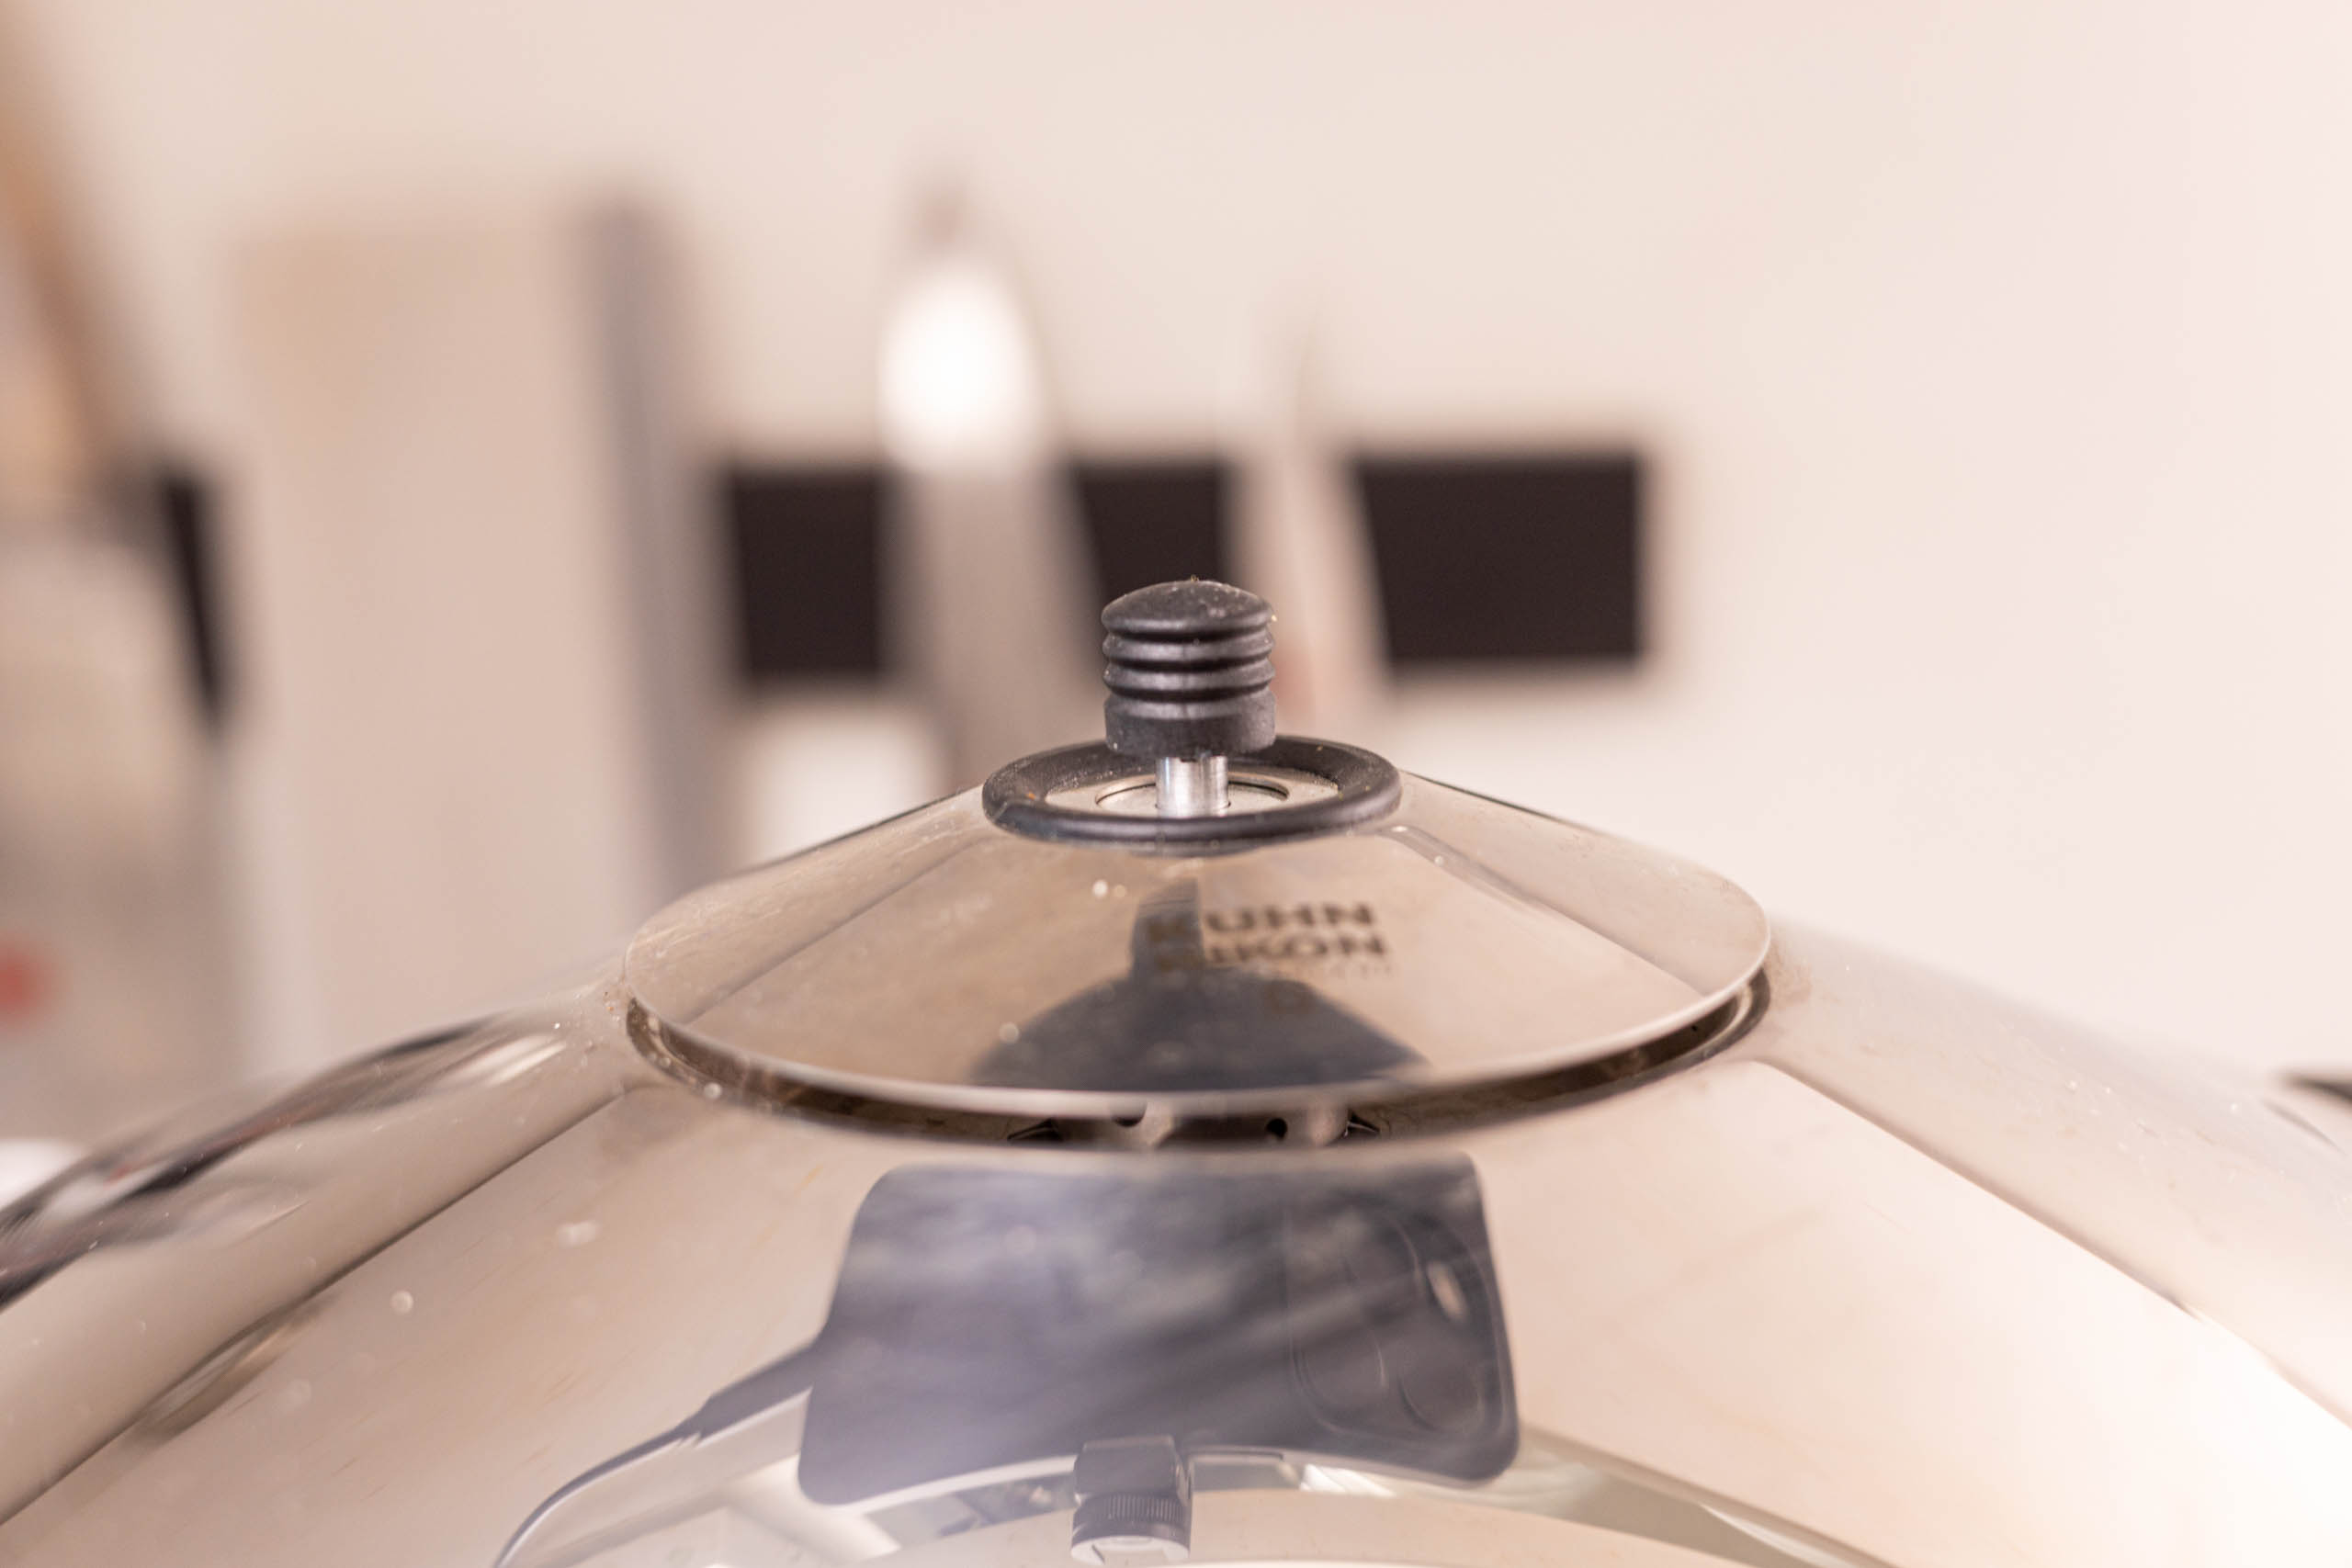
- When the grains are cooked, let them reach a manageable temperature. Open the pot.
- Carefully lift the mason jar out and put it on something heat-resistant. Open the jar and pour the contents into a sieve.
- Put the contents into a clean mason jar and store it in the fridge until needed for up to 3 days.
Mix the dough
- Add bread flour, whole-grain rye flour, and salt to a medium bowl. Mix it until it’s well combined.
- Then add cooked grain, sourdough starter, and water. Mix everything well.
- Clean up the bowl and let it rest covered for one hour.
Bulk fermentation
- Perform three sets of stretch and folds spaced out by 30 minutes. Then, put the dough in a proofing container with straight sides sprayed with baking spray.
- If fermenting warm, let the dough grow by 25%. If fermenting at room temperature, let it grow by 50%, if fermenting cold, let it grow to double the size.
Divide and shape the bread
- Once the dough has fermented, divide it into equally sized pieces and shape them into balls using your scraper. Then let the dough rest for 20 minutes.
- Do a final shaping. Watch the video to learn how to do it. Then, put the loaves in a super-cold fridge overnight.
Bake the bread
- When ready to bake, heat your oven to 230°C/450°F with a dutch oven inside.
- Take one loaf out of the fridge and dust the bottom with rice flour.
- Flip it on a peel and score it. Place it inside the dutch oven inside the oven.
- Bake for 25 minutes. Before the time is up, prepare the second loaf as you did before.
- Move the first loaf from the dutch oven to the side to be browned. Load the other loaf into the dutch oven. Bake for 25 minutes more.
- Remove the first loaf and put it on a wire rack to cool down.
- Remove the lid of the dutch oven and bake the second loaf for 25 minutes. Then, remove it and let it cool.


