Many people are intimidated by sourdough bread. They say it’s very difficult and very time-consuming. While the time-consuming part can only be changed a bit, it’s very easy to remove the agitation component of sourdough baking. I will show you how you can make a super easy, but still awesome sourdough bread. This is my recipe for no-knead sourdough bread.
People have many different ways of making sourdough bread, and it seems that once you’ve found a way that actually gives good results, you stick with that method from there on out.
The fact is that all of them can give you awesome artisan sourdough bread. Even no-knead. Read on.
If you are just here for the recipe, you can press the button underneath to be automagically transported to the recipe:
Jump to Recipe Jump to VideoSo what’s different in this recipe?
The reason we knead, and use different folding techniques like stretch and fold, coil fold, slap and fold, or mix on a machine is to develop gluten. I will let you in on a secret:
Given time, gluten develops all by itself. Sourdough bread ferments so slowly that gluten will develop all on its own.
Methods like autolyse were created for yeasted bread because it’s hard for gluten to develop when the bread ferments in an hour. The same goes for kneading.
So the process to make this bread is staggeringly simple:
- Mix the dough.
- Ferment the dough.
- Shape the dough (or don’t if you like rustic bread).
- Retard the dough (refrigerate).
- Bake the dough.
That’s it. It’s as simple as that.

What will you need to make this no-knead sourdough bread?
Ad links! The links for ingredients/items in this section are affiliate links, which means I will get a commission if you purchase the product!
You will need some tools to make this bread:
- A bowl to make the dough.
- A see-through container with straight sides to monitor bulk fermentation.
- A bench scraper to shape and move the dough around.
- A lame to score the dough.
- A dutch oven to bake the bread.
- A baking steel to temper your oven’s cold and warm spots.
- A good oven that can heat to 260°C/500°F.
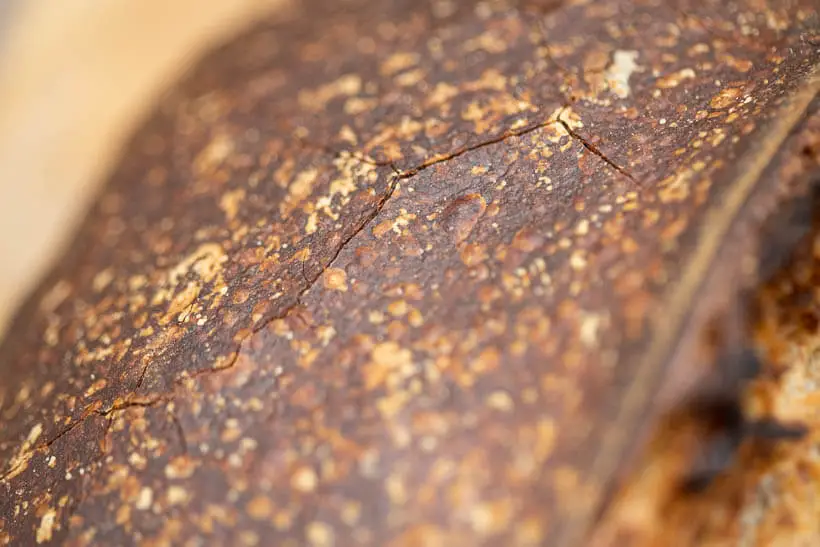
The dough in this no-knead sourdough bread recipe
Vitals
| Total weight | 1400 grams |
| Pre-fermented flour | 9.1% |
| Hydration | 75.0% |
| Yield | 2 small loaves |
Dough
The dough in this no-knead sourdough bread is comprised of 80% bread flour (for lots of gluten) and 20% whole grain rye.
You can easily substitute with any other whole grain or even gluten-free flour that you like.
I’ve baked this bread with up to 100% whole grain wheat, that I milled myself. It does tend to get quite heavy, but it has a wonderful taste. So that’s a possibility too.
The hydration of this recipe is 75%, which means there is 75% water to 100% flour. This includes the water in the starter.
I recommend that you start with 70% hydration if you are not sure how much water your flour can absorb. I’ve outlined this in the recipe.
| Weight | Ingredient | Baker's Percentage |
|---|---|---|
| 576g | bread flour | 80.0% |
| 144g | rye flour | 20.0% |
| 522g | water | 72.5% |
| 14g | salt | 1.9% |
| 144g | starter (100% hydration) | 20.0% |
The inoculation (amount of sourdough starter to flour ratio) in this bread is 20%. If you would like a longer fermentation (or it’s very warm where you live) you can change this to a lower number. If you’d like bread that’s done more quickly, you can change it to a higher number. Probably 40% maximum.
The salt content is 2%, which is just the perfect amount to bring out the taste of the grain without the bread tasting salty. It doesn’t come out to very much salt per slice.
If you want to play around with the formula, change quantity, hydration, inoculation, weight, and such, you can do so here in my Bread Calculator.
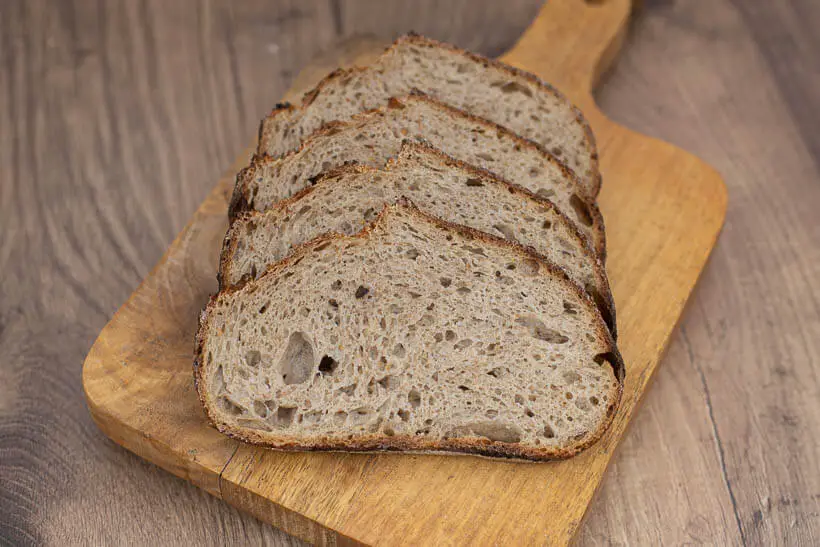
The conclusion of this no-knead sourdough bread recipe
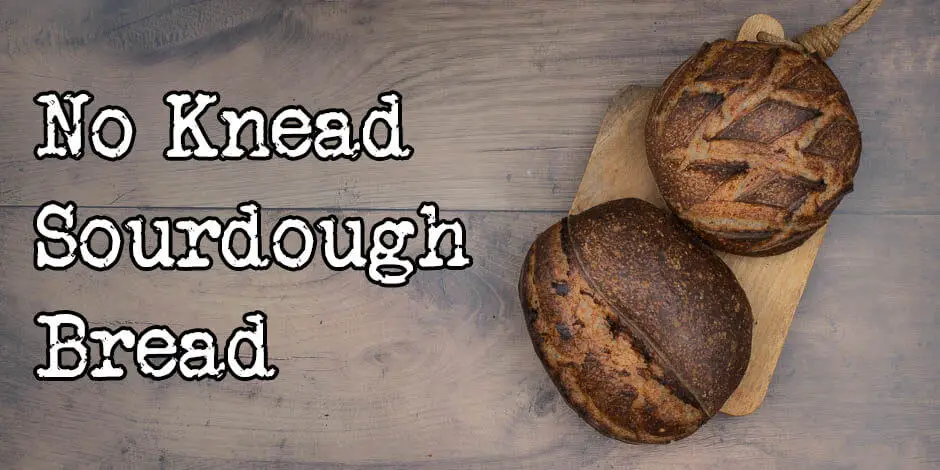
So can we get awesome sourdough bread without doing any actual kneading, folding, or machine mixing? Yes, it’s absolutely.
The crumb is a bit tighter than you usually get with some good folds, but this can be changed with a final proof right after shaping. I implore you to experiment with it.

The two factors that make the biggest difference in the appearance of the final bread is shaping and scoring.
If you are new to sourdough baking, have a look at the video. It gives you a good introduction to shaping. Both round and long bread.
When it comes to shaping I have an in-depth article (and video) on the subject here and here.
I don’t see any reason for you to not get started when it’s this simple, right?
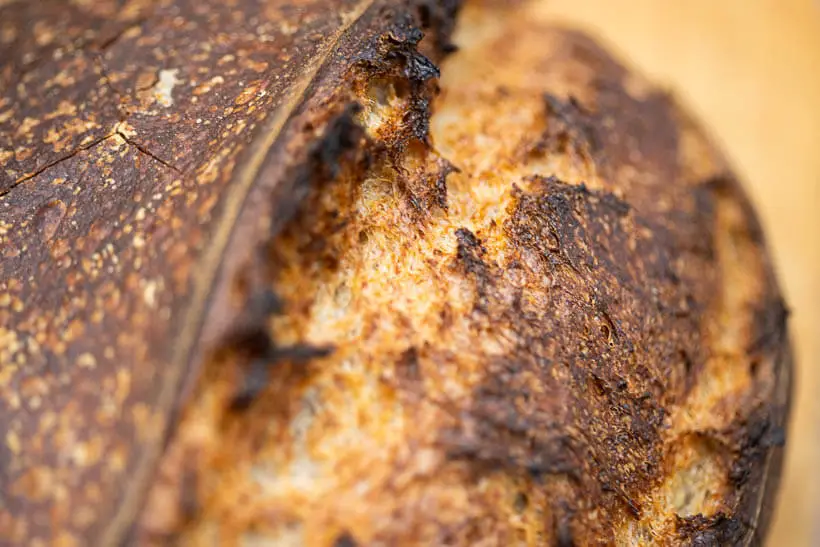
Please share this recipe for no-knead sourdough bread on social media
This is my recipe for no-knead sourdough bread. If you like the recipe please consider sharing it with like-minded bread lovers on social media.
If you make it and post it on Instagram, please tag me as @foodgeek.dk so I can see it. That would make me very happy.
No Knead Sourdough Bread
Ingredients
- 576 g bread flour
- 144 g dark rye flour or another whole grain flour
- 14 g salt
- 144 g sourdough starter fed and grown to its peak
- 522 g water divided
Instructions
Mix dough
- To a mixing bowl add: 576g bread flour, 144g rye flour or another whole grain flour and 14g salt.
- Mix it so that everything is well combined.
- Then add 144g sourdough starter; it should be fed and grown to its peak.
- Add 482g water. That will make the dough 70% hydration.
- If you feel like the dough isn’t too slack, you can add up to 40g extra water. Be careful about adding too much water.
- Be sure to mix the dough very thoroughly. You won’t get another chance.
Fermentation
- When the dough is mixed, put it into a see-through container with straight sides. Press the dough down, so the top is level.
- Mark the top of the dough on the outside of the container. I use a whiteboard marker, but you can also use an elastic band. Place the dough somewhere warm.
- You should let it grow until it’s grown by about 25%.
Divide and pre-shape
- When it's grown 25%, it's time to do the pre-shape.
- Dump the dough out onto your kitchen counter and divide it into two. Then shape each dough into a tight ball.
- First, we pull each corner of the dough to make a tight surface on the part of the dough facing the table.
- Then flip over the dough balls and move the dough toward yourself with the scraper. There shouldn’t be any flour on the table now.
- That pulls the dough down in the front, making the surface tighter. You can use one hand to guide the dough but touch it minimally.
- Also, if the dough feels very wet initially, you can wet the scraper, but again, do NOT add any more flour.
- Then let the dough rest for about 20 minutes on the counter to relax the gluten.
Final shape
- After that, you should final shape each ball into its final shape.
Shape as a boule
- To shape the bread as a boule, do precisely as the pre-shape.
- Put the bread in a banneton with the bottom facing upwards.
Shape as a bâtard
- To shape the bread as a bâtard, do it this way:
- Lightly flour the top of the ball, then flip it over.
- Pull the dough out into a rectangle, and flip the sides towards the middle.
- Roll the dough up pretty tightly, and seal up the ends of the dough.
- Put the bread in a banneton with the bottom facing upwards.
- Stitch the dough to tighten the dough further. It's kind of like lacing a shoe. Watch the video for details.
- If you use a liner, you can skip putting any flour in, but if you use it without, I will usually spritz the banneton with a bit of water and then flour it with rice flour.
Retard the loaves
- Then I put them both into plastic bags and the fridge.
- How long you leave them there depends on your schedule, but I wouldn’t recommend less than 8 hours. You should probably let the dough grow by more than 25% during bulk fermentation If you want a shorter retard.
- You can leave it in the fridge for up to 48 hours, but it should be icy. I have my fridge set to 3°C/37°F.
- Because of the relatively short bulk, the doughs will grow in the fridge, even at these cold temperatures.
Bake
- When ready to bake, heat your oven to 260°C/500°F with a dutch oven and baking steel inside.
- When the oven is hot, grab one of the doughs from the fridge. Don’t let it come up to temperature.
- Just dust the bottom with rice flour so it can slide easily off the peel and flip it onto the peel.
- Score the dough and place it inside the dutch oven inside the oven. Put the lid on the dutch oven and bake for 20 minutes.
- When the 20 minutes are up, remove the lid and turn down the oven to 230°C/450°F. Bake for about 20 minutes more.
- You can play around with how long you should keep the bread covered if you like a thinner or lighter crust. You can cover it for the entire bake if you want.
- When the bread is done, grab it from the oven, and put it on a wire rack to cool off. Bake the other bread the same way.
- Let both loaves cool until they are completely cooled down, or else your bread may not be done on the inside or become stale quickly because the steam inside the bread will evaporate through the cut in the bread.






These loaves turned out beautifully and are a nice change from the longer version with stretch and folds. Thanks for all your research and sharing your knowledge and recipes!
This turned out just as tasty as the previous breads I made with 3-4 stretch and folds. However it was somewhat flat in comparison which, simply put, doesn’t look as nice. What do you think can be the reason for that?